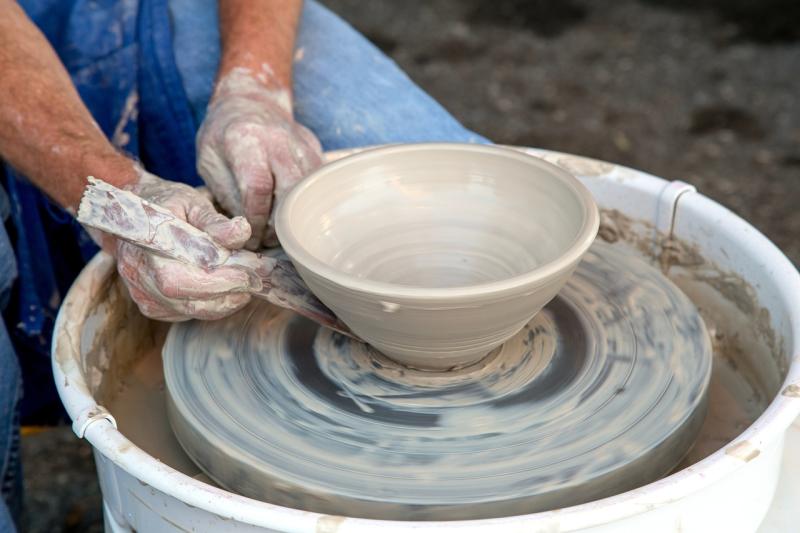
Resin art is a fun and creative way to bring your ideas to life. It's all about mixing resin with pigments, glitter, and other materials to create stunning, shiny pieces of art. You don't need to be a pro artist to dive in; anyone can get started with a little practice and the right supplies!
To begin, you’ll need a few basic materials: epoxy resin, hardener, pigment or colorant, mixing cups, and stirring sticks. You can find starter kits that include everything you need, making it super easy to jump right in. Make sure to grab some gloves too, as working with resin can get a bit sticky!
Once you have your supplies, it’s time to set up your workspace. Choose a flat, protected surface and ensure good ventilation. Mix the resin and hardener according to the instructions—this step is crucial for making sure your art sets properly. Then, it’s all about getting creative! Pour, swirl, and layer your colors to create unique designs.
Patience is your friend in resin art. After pouring, let your piece cure for about 24 hours. You might feel the urge to touch it, but letting it set undisturbed leads to the best results. Once it’s fully cured, you can sand, polish, or add additional layers to enhance your masterpiece. The possibilities are endless, and you'll love seeing what you can create!
Essential Tools You Need for Success
Jumping into resin art is super exciting, but having the right tools makes all the difference. Here are some essential items you'll want to have on hand to get started and create stunning pieces.
1. Epoxy Resin
First things first, you need quality epoxy resin. Look for a product that’s clear, UV-resistant, and has a long curing time. This gives you the chance to work with the resin and avoid any rushed mistakes.
2. Mixing Tools
You’ll need some mixing cups and sticks. Clear plastic cups are great for measured mixing, and wooden sticks work well to stir the resin and hardener together. Make sure to get a few extras in case of any spills!
3. Protective Gear
Safety first! Grab some gloves and a mask to protect your skin and lungs from fumes. Resin can be messy, so working in a well-ventilated area is a must. Consider an apron to keep your clothes safe from accidental drips.
4. Silicone Molds
No resin art is complete without molds. There are endless shapes and sizes available, from coasters to jewelry. Silicone molds are easy to use and peel away from the resin without any issues.
5. Colorants and Additives
Want to add some flair? Grab some resin pigments, dyes, or alcohol inks. These can transform your pieces into true masterpieces. Just make sure they’re specially made for resin so they mix well.
Step by Step Resin Art Techniques
Resin art is a rewarding and creative way to express yourself. If you’re itching to dive in, here’s a simple approach to get you started. Let’s break it down step by step!
First, gather your supplies. You’ll need epoxy resin, hardener, mixing cups, stir sticks, and a heat gun or torch to remove bubbles. You can also bring in pigments, glitters, and molds to add your personal touch. Make sure to read the instructions on your resin—it’s crucial for getting perfect results.
Next up is the mixing part. Pour equal parts of resin and hardener into a mixing cup. Stir gently but thoroughly for about three minutes. You don’t want bubbles in your mix, so take it easy! Once it’s well mixed, add your desired pigments or colors. This is where your creativity shines, so don’t hold back!
Now it’s time to pour. If you’re using molds, pour a thin layer first, then add any decorative elements like glitter or flowers. You can layer colors or even do a split pour for unique effects. Once you’ve got everything in place, use a heat gun or torch to get rid of any pesky bubbles that rise to the surface.
Let your masterpiece sit and cure according to the resin instructions. It usually takes about 24 hours to harden. After it’s fully cured, you can pop it out of the mold or finish it up with sanding, if needed. Enjoy the satisfaction of creating something truly unique and be sure to share your progress! You’ll be hooked on resin art in no time!
Tips for Perfecting Your Projects
Getting into resin art can feel a bit overwhelming at first, but don’t worry! A few handy tips can help you nail your projects every time.
First, always measure your resin and hardener accurately. Too much or too little of either can throw off your whole project. Use a digital scale for precision, and check the manufacturer’s recommendations for the right mixing ratio.
Next, temperature matters. Make sure your workspace is warm enough; resin cures best in temperatures above 70°F (21°C). If it’s too cold, the resin could stay tacky or not cure fully. Don't forget to check the humidity too; a dry environment is your friend when working with resin.
When it comes to mixing, take your time. Stir the resin and hardener together slowly for a few minutes, scraping the sides and the bottom of the mixing container. This will make sure everything blends perfectly. Also, if you’re adding colors or glitter, do this after the initial mix for the best results.
Finally, patience is key. Let your resin pieces cure fully, which can take 24 hours or more, depending on the product. Rushing this step might leave you with a sticky mess. Once it’s cured, you’ll be ready to admire your beautiful creation!